Q1 Plans Chapter 3 Page 3-16
- Details
- Category: Quickie Plans
- Published: Tuesday, 04 November 2008 00:00
- Written by Dan Yager
- Hits: 5549
PRACTICE LAYUPS
Flat Layup
The first practice layup that you will make is a layup of six BID plies onto a flat surface. This is inteneded to give you experience in the techniques of glass/epoxy work and to give you a check on your workmanship. You should be able to complete this layup in about half an hour.
Protect your work bench by taping waxed paper over an area about 24” by 24”, (or find a piece of metal and wax its surface). This will keep the epoxy from bonding to the table top. Cut six plies of BID that are about 12-1/2 inches by 18 inches.
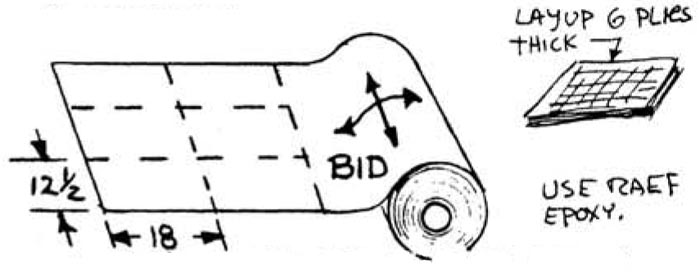
Laminate the six plies on top of the waxed paper. Try to do your best job of stippling and squeegeeing so that the plies are completely wetted but not full of excess epoxy. Let the layup cure to knife trim, about four hours. Carefully mark a 10-in by 16-in rectangle and knife trim the layup to that size using a sharp razor blade or trim knife. Allow the layup to cure completely. If you forget the knife trim, cut the cured piece with a coping saw or band saw.
Take the cured 10”x16" piece to your post office, or any accurate scale, and ask them to weigh it for you. Your laminate should weigh between 10-1/2 and 12-1/2 ounces. A 10-1/2 ounce layup is about as light as can be done without voids (white areas). A 12-1/2 ounce layup has too much resin, and if you make all of the layups in the airplane this wet, your Quickie may be as much as 30 pounds over weight. An 11-ounce layup is just about perfect. Save this piece; it will be useful material later on.
Confidence Layup
The second practice layup is one intended to give you confidence in the strength of your work. This layup is a sample of composite sandwich structure and is typical of the load carrying structures in your Quickie. When this layup is finished and completely cured, you will subject it to a simple load test and thus demonstrate the strength of your workmanship.
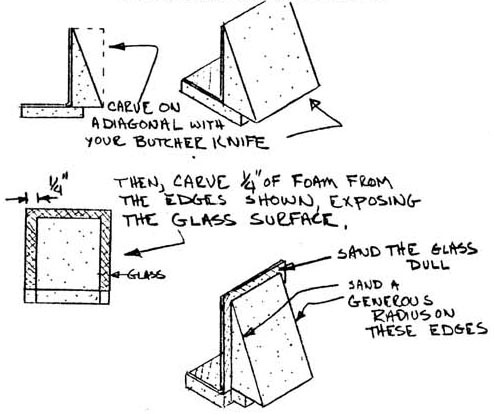
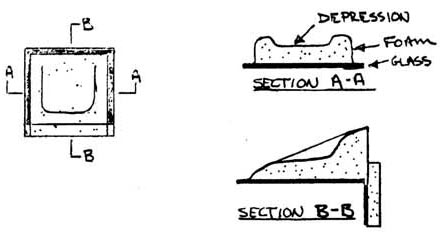
First, tape a piece of waxed paper about 30 inches long to the top of your work table. Shape a piece of green foam as shown.

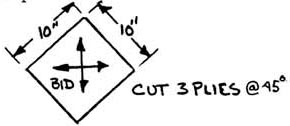
Go to your glass cutting area and cut the glass plies shown.

Lay up two plies of UND, two plies of BID, paint the foam with micro slurry and press it in the center. Then lay up the other BID and UND plies.

Be careful to work all air bubbles out of the corners. The best way is to stipple with the brush. The glass is oversized so that it can be trimmed to exact dimensions later. Trim to the dimensions shown after curing 24 hours. Using a coping saw or band saw.

Allow the piece to cure for four days at room temperature before the load test.
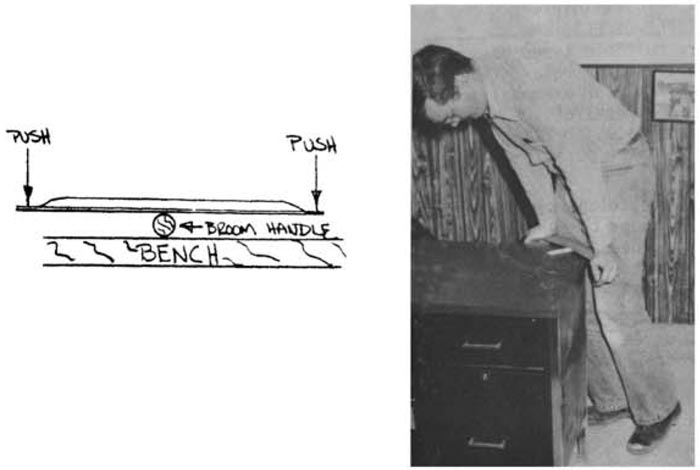
Now for the test: lay a broom handle or piece of tubing on the work bench and try to break the sample by putting all of your weight on the ends. A 200 pounder will stress the sample more than any part of your airplane is stressed at 10 g’s
Book End
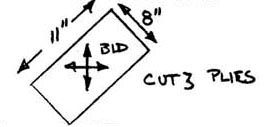
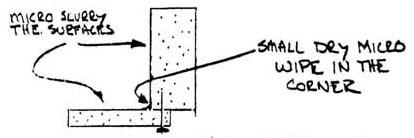
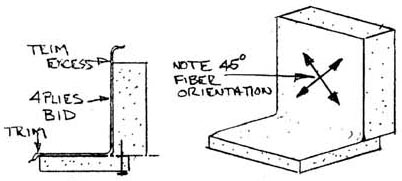
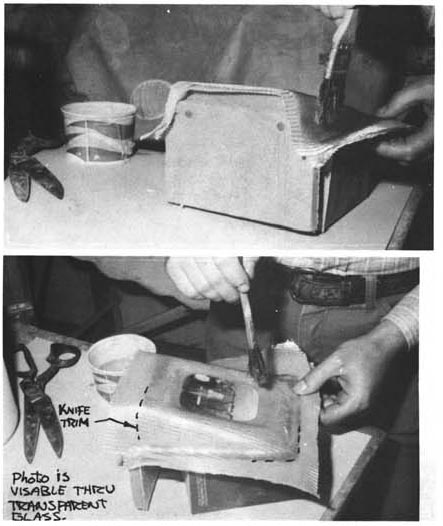
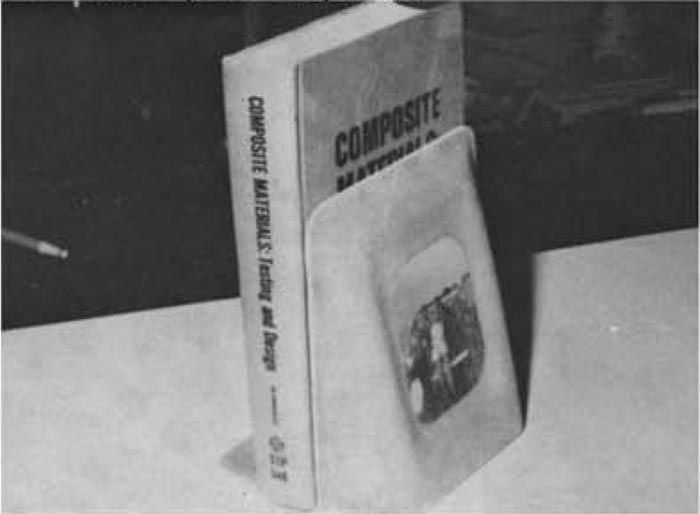
The last practice part that you will make before startirg on your airplane is a book end. It takes three layups to make the book end and involves most of the operations that you will need to learn, to build your airplane.
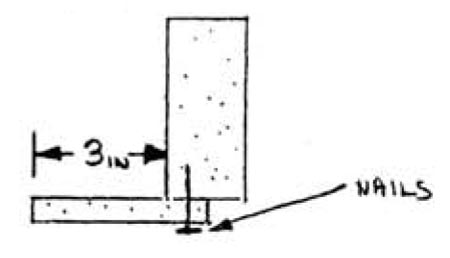
Cut the 3 blocks of green urethane foam (2 lb/ft3) as shown.
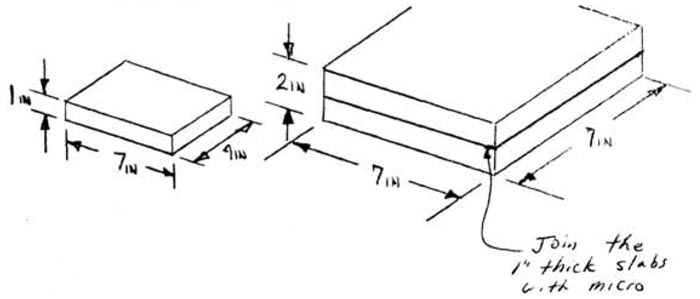
Nail them together.
