Login Form

Old Documents Made Digital

I got all of my Poster boards assembled that I was talking about in my last post and brought them over to Kinko's to be scanned.  In doing so, I learned a valuable lesson about the concept of surface AREA!  Surprised

It seems that FedEx Kinkos charges $1 per square foot to scan large format documents.  Personally I think that's a bit outrageous, but I guess it beats paying the multiple thousand dollars for the large format scanner itself!  However, to make matters worse for me, I had nearly doubled the surface area of the large template sheets by attaching them to the poster boards.  So each sheet was now six square feet, instead of the original three.  With 10 sheets to scan, it meant that the additional square footage really added up quickly!

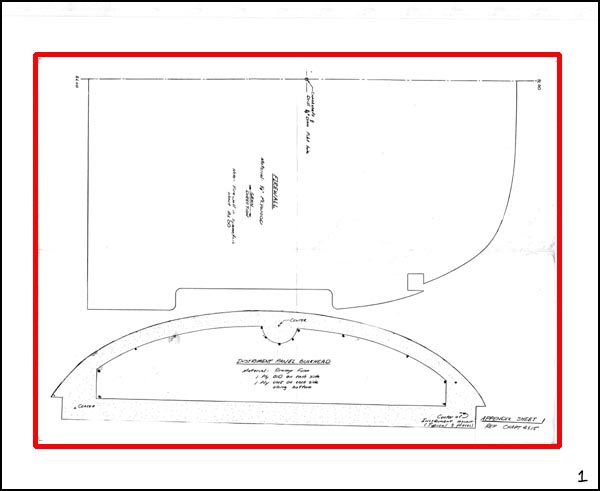
The image below is the raw scan I got back from Kinkos.  The red boarder represents the area of the original templates.  The area outside of the red boarder represents wasted money! Oops! Embarassed

Template Sheet 1 - Original
 

Well at least now I can say that I spared absolutely no expense in bringing thes templates to the Quickie community!  Yikes!

So, to make a long story short, I spent the better part of the day trying to figure out the best way to format the templates in the digital realm, so that others won't have to learn a valuable lesson about the concept of surface AREA the way I did.  As you'll discover, most printers charge by the square foot to print large format documents as well.  So, it makes sense to try to minimize the amount of square footage the print takes up.  Less square footage, means lower cost to the end user.

Initially my thought was that I would attempt to maintain the same dimensions as the original templates.  (18" x 24")  Below is my first attempt at reformatting Template Sheet 1.
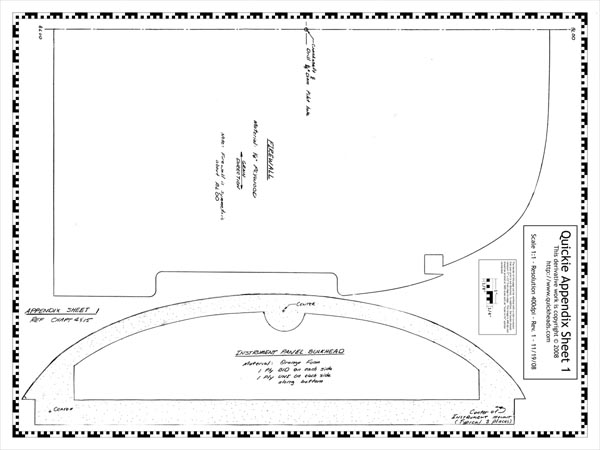
Template Sheet 1 - 18x24
 

 When I create the digital files, I put a boarder around them that is similar to the Q-200 templates that I have for sale on this site as well.  This allows the user to verify the print with a ruler and ensure that there isn't any distortion.  As you can see above, this border takes up a good amount of the page if I were to maintain the original 18x24" size.  In fact, by the time I got around to formatting some of the wheel pant templates, it became clear that the templates would interfere with the border.

So after all that work, attempting to maintain the original size, I scrapped the idea, and began reformatting the page size so that I could cram 3-4 template sheets on a single page.  The final result will be a template sheet that is 36x48"  This reduces the amount of wasted "white space" in the finished drawing, as seen below.
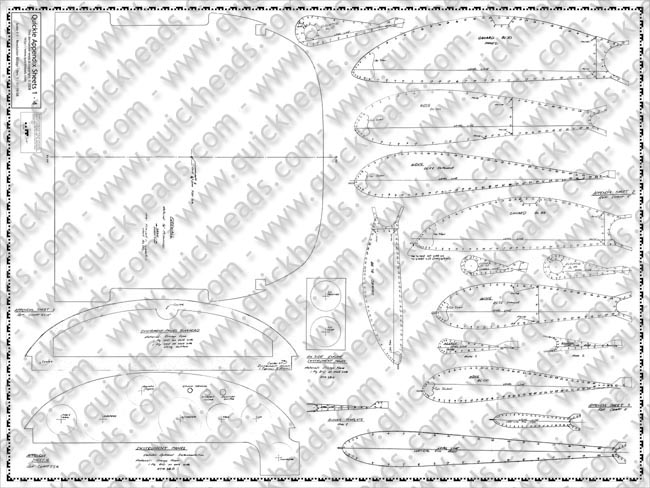
Template Sheets 1-4 - 26x48

The image above represents the final layout of the first four template sheets for the Quickie plans.  As you can see this format leaves enough room for me to redraw the entire firewall, instead of having the builder "futz around" with only half the drawing, trying to mirror it.  I think this is a nice compromise, it allows the reference border to remain within the printable area of most large format printers, while maintaining the best use of the paper for the actual templates.

After my last post I recieved an e-mail from someone requesting that I also include all of the original templates that appear within the plans themselves.  I thought this was an excellent idea, and I will scan all of those pages, and make them available on this set of template sheets as well.  Unfortunately, it will just take me a little more time. 

When completed, I should end up with about 3-4 template sheets that will contain a complete and verifiable set of templates from the original Quickie plans.  So stay tuned! 

As always, I invite your feedback by leaving comments below, or by using the "Contact Me" button on the upper right hand side of this web page.

Hour 26 - More Foam Shaping

{flv}construction/hour026{/flv}

In this clip I busted out the old sanding blocks again and started to put a final form to the two part foam. When I finished I put the Canopy in place and marked out where I wanted it to go. As you can see I need some more foam in the corners, but that will be remedied in my next video. (I got my half gallon kit of X-30 from TAP Plastics the other day.)

Seems I went a little crazy with the jamb saw near the spruce longeron and took off a bit too much foam. I'll have to fill in that area with a little more two part as well.

Stay tuned. It's starting to look like a real canopy frame! Smile

As always, I invite your comments below, or in the forum!

Quickie Template Problem Update

Ever since my last post about the problems I perceived with the Q1 Templates that I saw for download on the Q-list, I have been working like mad to attempt to find original documents that might help me recreate a set of LS1 templates for the Q1.

Well, in that time I was able to make contact with several people who might be able to help the effort.  The very last newsletter published by Quickie Aircraft Corporation mentions that the original development of the LS1 canard for the Q1 was done by Lanny Rundell.  As it turns out, Lanny is still alive and well and currently is the owner and operator of Legend Aircraft in Winnsboro, Louisiana.  More importantly Lanny returned my call last night!

Come to find out, Lanny doesn’t remember finishing the Q1 with the LS1 canard, despite what the final newsletter stated about there being flight issues with the plane.  He reported to me that he sold the unfinished Q1 shortly after QAC went bankrupt.  Since the death of Bob McFarland in a now infamous Q2 accident, this brings into serious question the validity of anyone claiming to own a set of “original” LS1 templates for the Q1.  It also calls into question, anyone claiming to have created their own template set based on an original set.

Lanny indicated that he might have some other Quickie related materials that he would be interested in sharing with me, but that he would have to dig around his shop a bit first.  However, he seriously doubted that even he would have a set of Q1 templates since he had to cut them out and use them to create the foam core templates and female jigs for the new canard.

Well this brings me back to the drawing board a little bit.  If there are any Q1’s that have been built with LS1 canards, I haven’t found them yet.  So for now, I maintain my air of skepticism.  My hope is that someone will prove me wrong, and help me produce a working set of templates.

On a side note, Lanny also provide me with some background into what it was like to be a Quickie dealer.  He told me that his agreement with QAC required that he buy three kits with at least one of those being a complete kit with engine for distribution within his sales region.  In addition, he was required to buy several sets of plans, and various other bells and whistles for the kits.  Perhaps this might explain why the initial sales numbers were so high for the Q designs! Laughing Interesting stuff.

If you’d like to disagree with my assertions above, I invite your feedback by leaving a comment below.

Quickie DXF Error 

Restoring Old Documents

After several weeeks of online hunting and research, I finally found someone who might have an original set of Q1 templates that they would allow me to borrow.  The person was selling three Quickies as the executor of an estate.  So as it turns out, the seller wasn't the original builder and wasn't really sure what he had.  I of course told him to send me everything he had made of paper!  In exchange for allowing me to make digital copies, I offered to place an ad for his Quickies right here on this site.  (Stay tuned for the ad.)


The Set of Original Q1 Templates


At any rate, a package arrived on my doorstep two days ago that was just what I was looking for.  As you can tell from my previous posts, I'm interested in recreating the Q1 templates for everyone to use.  But I wanted to ensure that they were as close to the originals as I could find.  Well, not only did the package contain several uncut template sheets for the Q1 with a GU airfoil canard, it also contained a nearly complete set of plans.  Come to find out, my suspicions were correct.  The photos in the original Q1 plans were legible, unlike the ones that appear in several online copies.  Hence, not only will I be able to digitize a set of templates from an original set, I will be able to update all of the photographs that appear on this site from an original set of Q1 plans. 

Of course, that means quite a bit more time and effort for me, but hey, we've all got time right?  We just need to put forth the effort. Smile

Well at any rate, my first order of business was to sort through the template sheets and see what I had. The package contained pieces for all of the original 10 template sheets from QAC with the exception of Template Sheet #5.  Sheets 3, 4, 6, 7, and 10 were uncut, but they had been folded, and were begginning to show signs of their 30 year age.  Sheets 1, 2, 8, and 9 had a few of the templates already cut out, but they were complete.  Sheet 9 which contained the "Large Wheel Pant Templates" was badly damaged and was in need of major repair.  Although Sheet #5 wasn't there I feel confident that I can use a didgital copy that I have, and use the dimensions of Template sheet #6 to recreate a good working copy of #5.

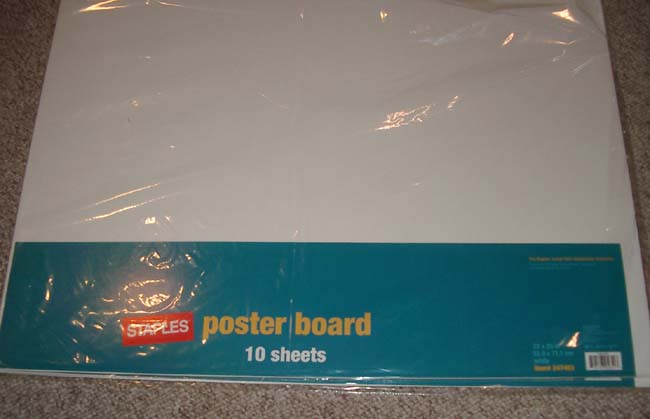
At any rate, below I'll walk through the process I used to mount these 30 year old documents, in preparation for scanning.  The idea was to repair the damaged pieces, and lay the templates out flat so that they could be digitized and further repaired on the computer.  The idea is to preserve the originals, and perform any image enhancements digitally, all while maintaining accurate scaling.  I called Fedex Kinko's and they told me that their large format digital scanners can accept card stock, so I went to the local Staples and purchased a set of 10 Poster Boards that were big enough to mount the templates.  The template sheet are approximately 18x24" so I bought boards that were 22x28" just to be sure they'd fit.


Poster Boards


Next drew an outline of the actual dimensions of the template sheets, and centered it on the first board.


Pencil Outline


Next, I masked off the area that would contain the mounted sheet and made sure that there was enough overlap to prevent overspray from hitting the new carpet, and royally upsetting my better half!


Mask the Area


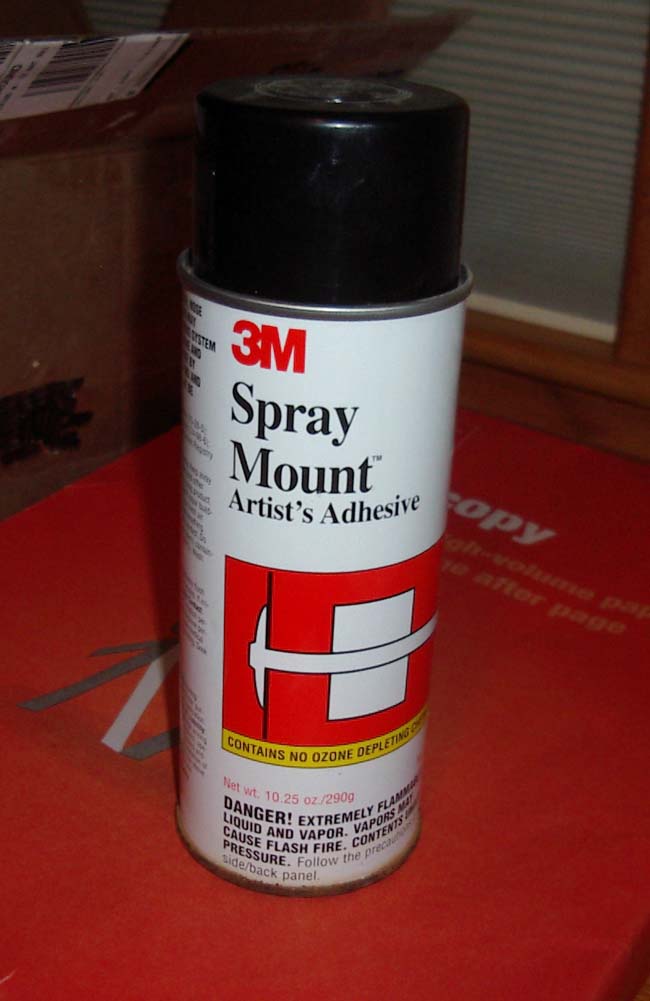
Then I applied a very thin coat of "3M Spray Mount."  Spray Mount allows you to make one side of an object tacky.  When you apply the document (in this case the template sheet) the spray will not adhere to the original, but it will allow you to lay the document out flat without it shifting around.  The beautiful part, is that you can remove the document and reposition it several time if you need to.  This allows you to align all of the original pieces, and secure them temporarily without further damaging the original.  So in effect, you're able to reconstruct the damaged document, without applying glues or other harmful substances to the original.  However, if you want to make the document adhere to the board permanently, you simply apply Spray Mount to both surfaces, and then stick them together.  The two surfaces will adhere to each other like contact cement and form a permanent (unmoveable) bond.


3M Spray Mount


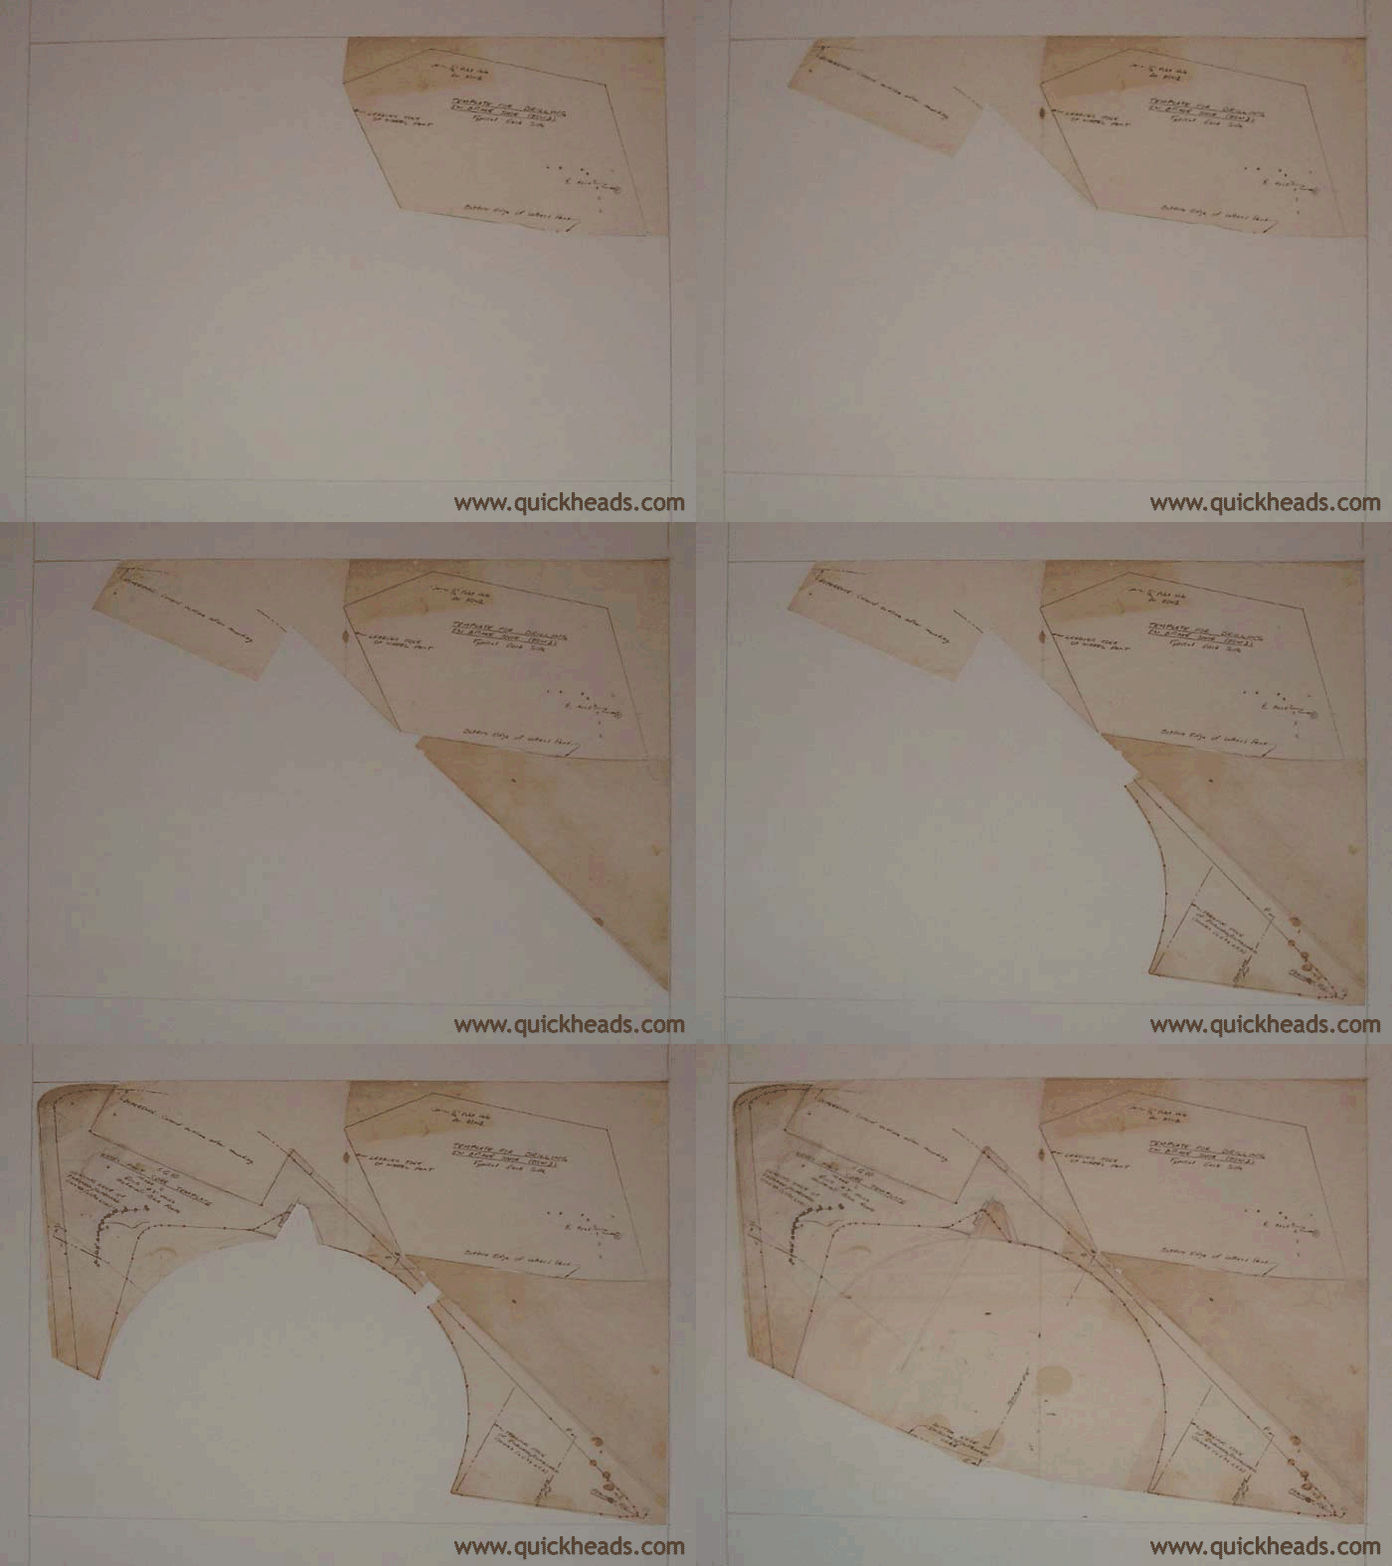
Template sheet #9 was the most badly damaged (as mentioned above), but once the Spray Mount is allowed to dry for a minute on the Poster Board, it becomes a simple matter of putting the jigsaw puzzle back together.


A Damaged Template Sheet


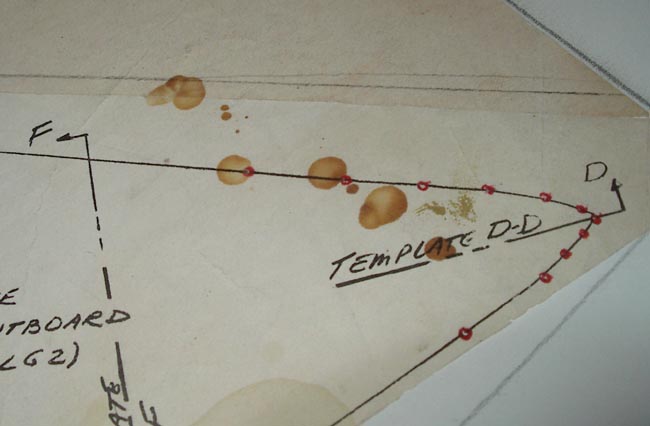
Normally I would say that coffee spills on important documents are a very very bad thing.  However, in this case it was obvious that the coffee spill had occured prior to the template sheet being cut.  This actually helped me line up the pieces that had no other references near the cut lines.  I can remove the stains from the digital image later. In the meantime I would like to take a moment to praise the carelessness of the original builder! Wink


Coffe Spill Saves the Day!


Simply reposition the pieces until everything is lined up perfectly.

Reassemble the Template

Finally I'll use the same procedure with the remaining 8 templates and bring them to Kinko's for scanning on their highly accurate large format scanner.  When I get the didgital images made, I'll clean them up, and make them available to the rest of the Quickie community. 

I still haven't had much luck finding an original set of LS1 Canard templates, but I have a few more leads to chase down.  If you have an idea who might own a set, please feel free to leave a comment below.  I appreciate your help!


Hour 25 - Foam Carving

{flv}construction/hour025{/flv}

In this clip I start carving the rough shape of the canopy frame using a jamb saw.  The saw works pretty well for rough carving and allows you to run the blade along the surface of the fuselage to allow the finished shape to conform correctly.

For those who have never seen a jamb saw, it's normally used while tiling or installing hardwood floors.  It allows you cut the bottoms of door jambs off (hence the name) and slip the flooring material under the jamb.  Very handy! Wink

The other handy thing about the jamb saw is that it has a swivel that allows you to lock the blade on either the left or right hand side whicha allows you to carve from either side depending on the predicament you find yourself in!

I know Sam Hoskins is kinda' partial to using the Saws-All, but I'm still too chicken to get cutting machinery too close to the glass structure.  Sam, you're still my freekin' hero though! Laughing

As always, I invite your comments below, or in the forum!