Old Documents Made Digital
- Details
- Category: Quickheads BLOG
- Published: Thursday, 20 November 2008 16:19
- Written by Dan Yager
- Hits: 2308
I got all of my Poster boards assembled that I was talking about in my last post and brought them over to Kinko's to be scanned. In doing so, I learned a valuable lesson about the concept of surface AREA! ![]()
It seems that FedEx Kinkos charges $1 per square foot to scan large format documents. Personally I think that's a bit outrageous, but I guess it beats paying the multiple thousand dollars for the large format scanner itself! However, to make matters worse for me, I had nearly doubled the surface area of the large template sheets by attaching them to the poster boards. So each sheet was now six square feet, instead of the original three. With 10 sheets to scan, it meant that the additional square footage really added up quickly!
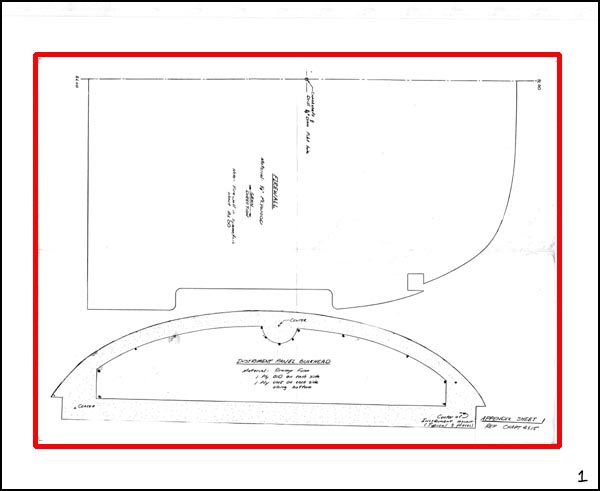
The image below is the raw scan I got back from Kinkos. The red boarder represents the area of the original templates. The area outside of the red boarder represents wasted money! Oops! ![]()

Well at least now I can say that I spared absolutely no expense in bringing thes templates to the Quickie community! Yikes!
So, to make a long story short, I spent the better part of the day trying to figure out the best way to format the templates in the digital realm, so that others won't have to learn a valuable lesson about the concept of surface AREA the way I did. As you'll discover, most printers charge by the square foot to print large format documents as well. So, it makes sense to try to minimize the amount of square footage the print takes up. Less square footage, means lower cost to the end user.
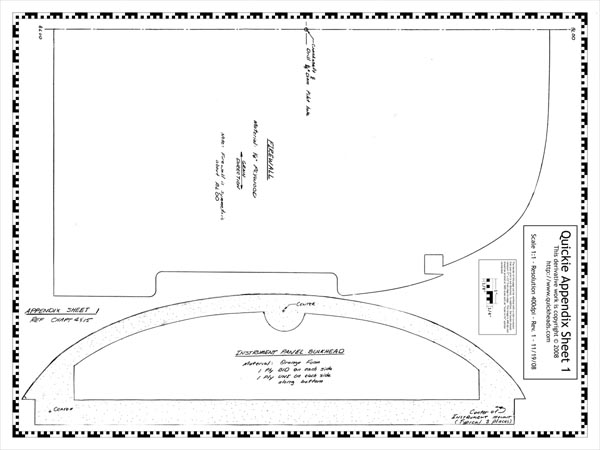
Initially my thought was that I would attempt to maintain the same dimensions as the original templates. (18" x 24") Below is my first attempt at reformatting Template Sheet 1.

When I create the digital files, I put a boarder around them that is similar to the Q-200 templates that I have for sale on this site as well. This allows the user to verify the print with a ruler and ensure that there isn't any distortion. As you can see above, this border takes up a good amount of the page if I were to maintain the original 18x24" size. In fact, by the time I got around to formatting some of the wheel pant templates, it became clear that the templates would interfere with the border.
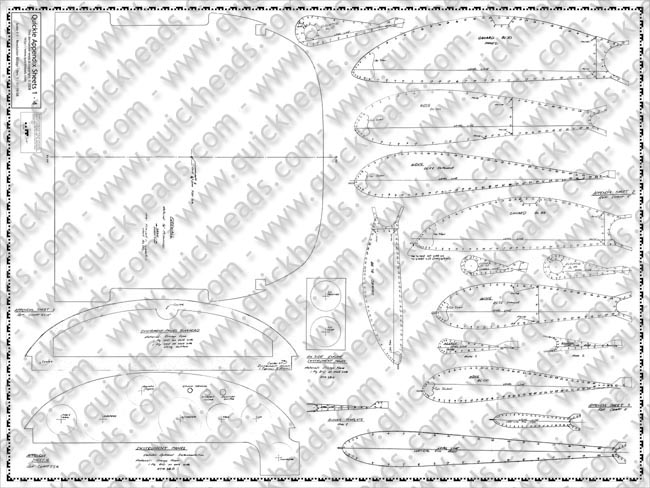
So after all that work, attempting to maintain the original size, I scrapped the idea, and began reformatting the page size so that I could cram 3-4 template sheets on a single page. The final result will be a template sheet that is 36x48" This reduces the amount of wasted "white space" in the finished drawing, as seen below.

The image above represents the final layout of the first four template sheets for the Quickie plans. As you can see this format leaves enough room for me to redraw the entire firewall, instead of having the builder "futz around" with only half the drawing, trying to mirror it. I think this is a nice compromise, it allows the reference border to remain within the printable area of most large format printers, while maintaining the best use of the paper for the actual templates.
After my last post I recieved an e-mail from someone requesting that I also include all of the original templates that appear within the plans themselves. I thought this was an excellent idea, and I will scan all of those pages, and make them available on this set of template sheets as well. Unfortunately, it will just take me a little more time.
When completed, I should end up with about 3-4 template sheets that will contain a complete and verifiable set of templates from the original Quickie plans. So stay tuned!
As always, I invite your feedback by leaving comments below, or by using the "Contact Me" button on the upper right hand side of this web page.
