Restoring Old Documents
- Details
- Category: Quickheads BLOG
- Published: Friday, 14 November 2008 11:33
- Written by Dan Yager
- Hits: 2375
After several weeeks of online hunting and research, I finally found someone who might have an original set of Q1 templates that they would allow me to borrow. The person was selling three Quickies as the executor of an estate. So as it turns out, the seller wasn't the original builder and wasn't really sure what he had. I of course told him to send me everything he had made of paper! In exchange for allowing me to make digital copies, I offered to place an ad for his Quickies right here on this site. (Stay tuned for the ad.)

At any rate, a package arrived on my doorstep two days ago that was just what I was looking for. As you can tell from my previous posts, I'm interested in recreating the Q1 templates for everyone to use. But I wanted to ensure that they were as close to the originals as I could find. Well, not only did the package contain several uncut template sheets for the Q1 with a GU airfoil canard, it also contained a nearly complete set of plans. Come to find out, my suspicions were correct. The photos in the original Q1 plans were legible, unlike the ones that appear in several online copies. Hence, not only will I be able to digitize a set of templates from an original set, I will be able to update all of the photographs that appear on this site from an original set of Q1 plans.
Of course, that means quite a bit more time and effort for me, but hey, we've all got time right? We just need to put forth the effort. ![]()
Well at any rate, my first order of business was to sort through the template sheets and see what I had. The package contained pieces for all of the original 10 template sheets from QAC with the exception of Template Sheet #5. Sheets 3, 4, 6, 7, and 10 were uncut, but they had been folded, and were begginning to show signs of their 30 year age. Sheets 1, 2, 8, and 9 had a few of the templates already cut out, but they were complete. Sheet 9 which contained the "Large Wheel Pant Templates" was badly damaged and was in need of major repair. Although Sheet #5 wasn't there I feel confident that I can use a didgital copy that I have, and use the dimensions of Template sheet #6 to recreate a good working copy of #5.
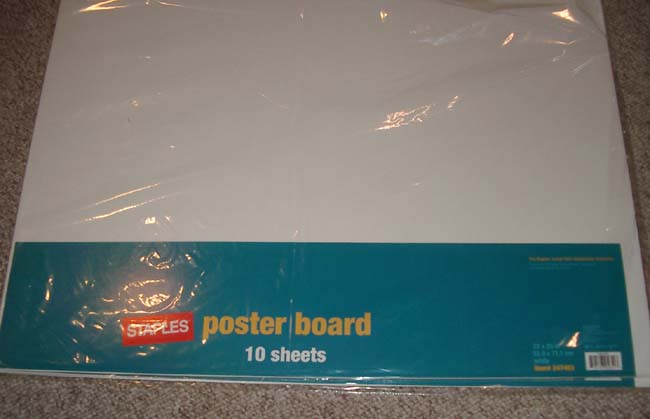
At any rate, below I'll walk through the process I used to mount these 30 year old documents, in preparation for scanning. The idea was to repair the damaged pieces, and lay the templates out flat so that they could be digitized and further repaired on the computer. The idea is to preserve the originals, and perform any image enhancements digitally, all while maintaining accurate scaling. I called Fedex Kinko's and they told me that their large format digital scanners can accept card stock, so I went to the local Staples and purchased a set of 10 Poster Boards that were big enough to mount the templates. The template sheet are approximately 18x24" so I bought boards that were 22x28" just to be sure they'd fit.

Next drew an outline of the actual dimensions of the template sheets, and centered it on the first board.

Next, I masked off the area that would contain the mounted sheet and made sure that there was enough overlap to prevent overspray from hitting the new carpet, and royally upsetting my better half!

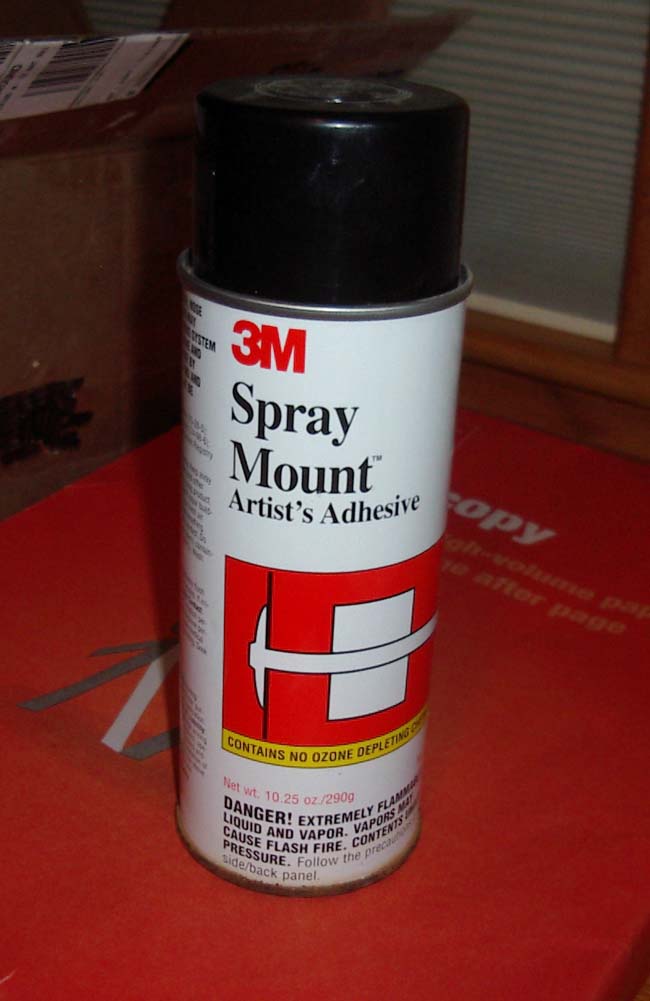
Then I applied a very thin coat of "3M Spray Mount." Spray Mount allows you to make one side of an object tacky. When you apply the document (in this case the template sheet) the spray will not adhere to the original, but it will allow you to lay the document out flat without it shifting around. The beautiful part, is that you can remove the document and reposition it several time if you need to. This allows you to align all of the original pieces, and secure them temporarily without further damaging the original. So in effect, you're able to reconstruct the damaged document, without applying glues or other harmful substances to the original. However, if you want to make the document adhere to the board permanently, you simply apply Spray Mount to both surfaces, and then stick them together. The two surfaces will adhere to each other like contact cement and form a permanent (unmoveable) bond.

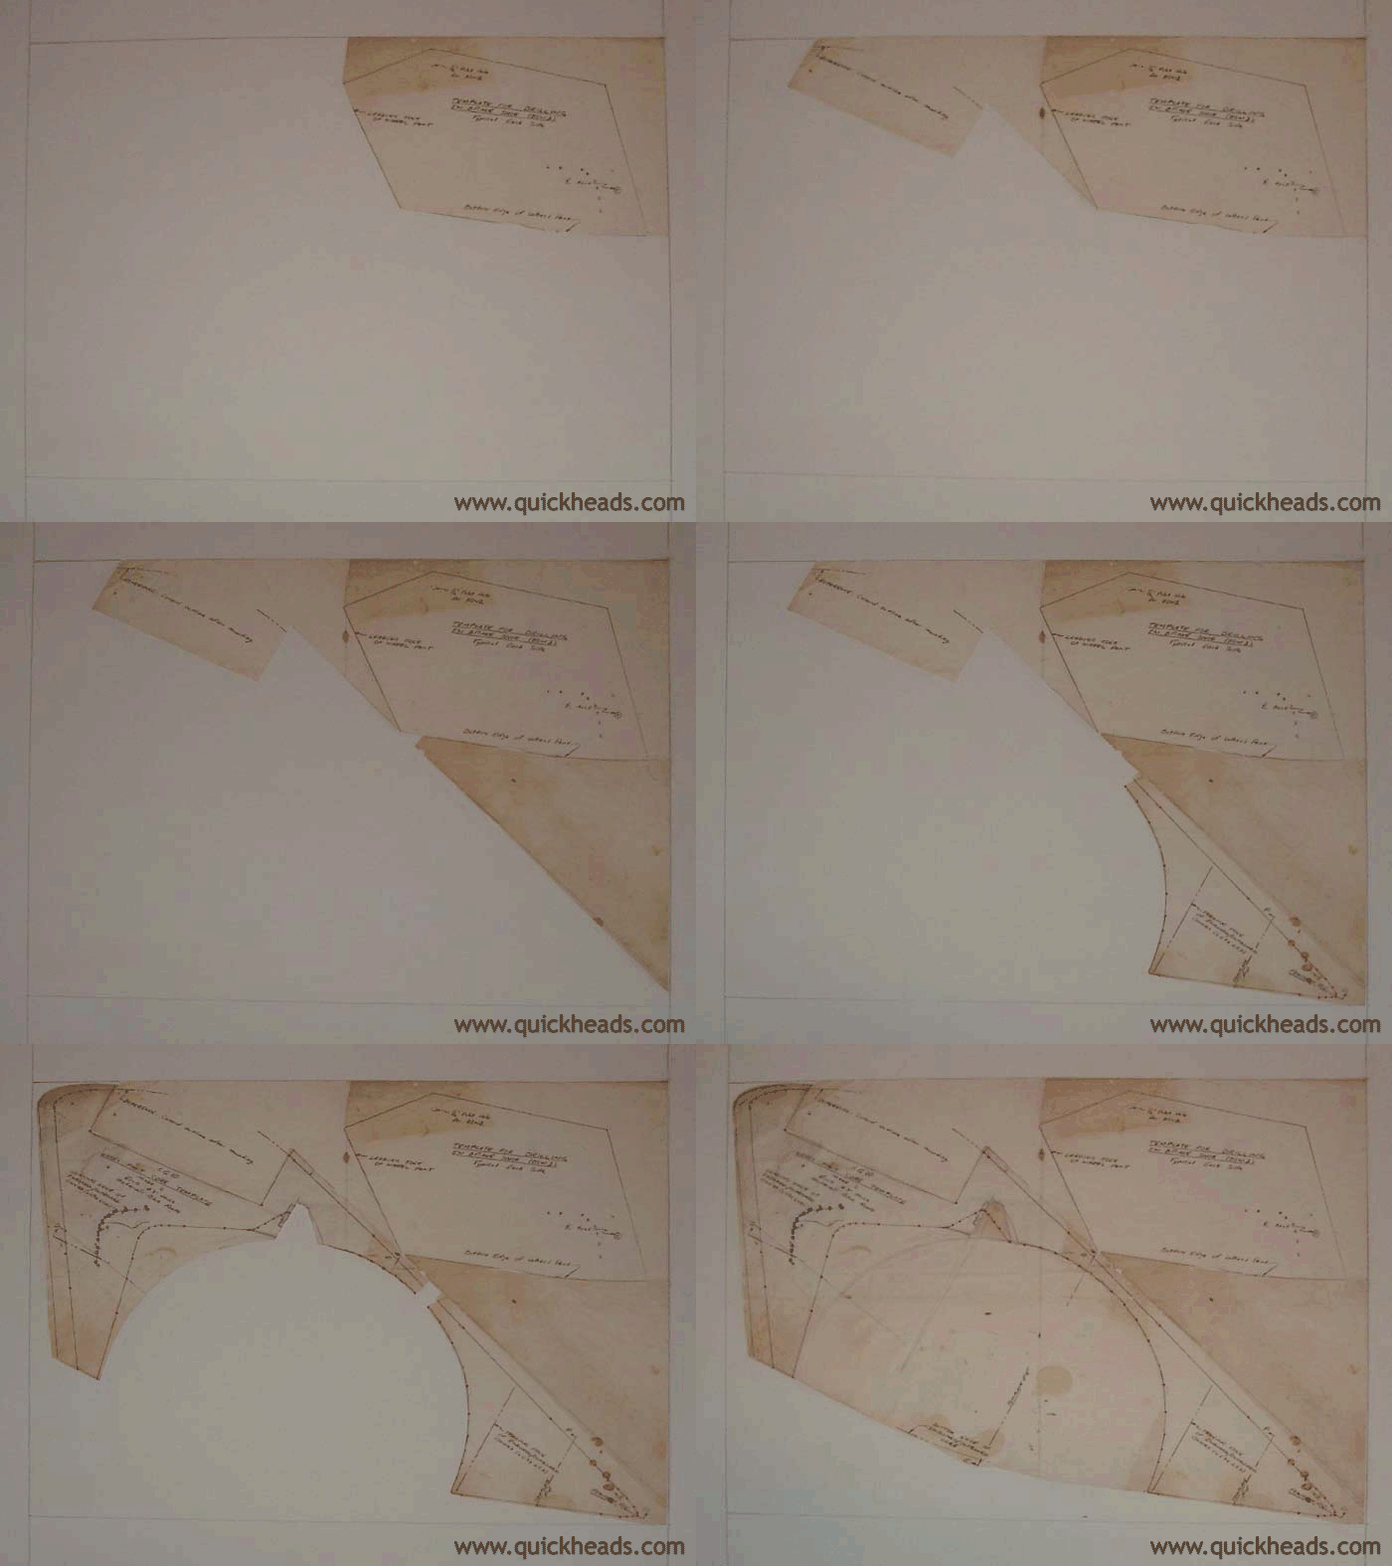
Template sheet #9 was the most badly damaged (as mentioned above), but once the Spray Mount is allowed to dry for a minute on the Poster Board, it becomes a simple matter of putting the jigsaw puzzle back together.

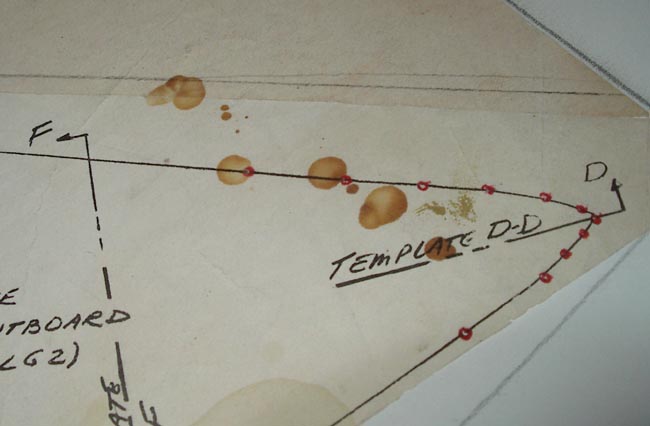
Normally I would say that coffee spills on important documents are a very very bad thing. However, in this case it was obvious that the coffee spill had occured prior to the template sheet being cut. This actually helped me line up the pieces that had no other references near the cut lines. I can remove the stains from the digital image later. In the meantime I would like to take a moment to praise the carelessness of the original builder! ![]()

Simply reposition the pieces until everything is lined up perfectly.

Finally I'll use the same procedure with the remaining 8 templates and bring them to Kinko's for scanning on their highly accurate large format scanner. When I get the didgital images made, I'll clean them up, and make them available to the rest of the Quickie community.
I still haven't had much luck finding an original set of LS1 Canard templates, but I have a few more leads to chase down. If you have an idea who might own a set, please feel free to leave a comment below. I appreciate your help!
