Q-talk 159 - Waddelow Construction Details


- Details
- Category: Q-Talk Articles
- Published: Saturday, 29 June 2013 12:47
- Written by Paul Buckley
- Hits: 9888
by Paul Buckley
Cheshire, England
[ EDITOR'S NOTE: Paul Buckley sent me these great construction photos of his Tri-Q200 build. It features the 200" Waddelow Sparless LS1 Canard and Main Wing, and it spawned the idea for the theme of this newsletter. Thanks Paul! Looks like you've done some great work.]
My TriQ-200 is not exactly built to plans having a 'Waddelow' canard (no spar) and the main wing has the 'Waddelow' tapered spar caps rather than the plans square ended caps.
Also, I have modified the fuel filler flap, pitot head, canopy hinge, installed a header fuel filler etc. etc. and I installed the header tank, bulkheads, main tank, seat belts, panel etc before gluing the top half of the cockpit section to the bottom half.
Most of these construction mods have come from 'builder's tips' published in the early newsletters, the most valuable one I found to be the advice on not gluing the cockpit shells together before the cockpit is kitted out.
Otherwise, the main structure, apart from the canard, is built to plans so I am sending you the following photos of the construction process just in case you can use them for the newsletter.
The Waddelow Canard Construction
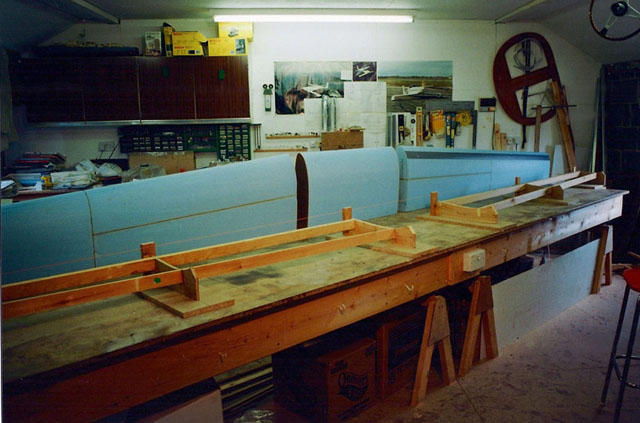
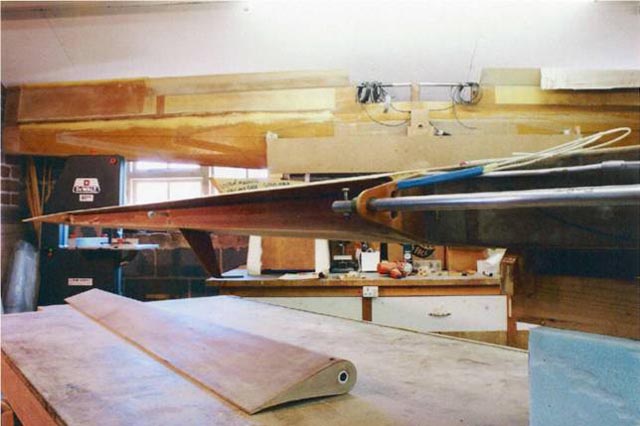
Jigging the flying surfaces. Note the longeron members to keep the cores straight, and the stops at the back for the shearweb to butt up to. This is the 'Waddelow' canard but the technique is the same for all. I am a great believer in jigs for everything!
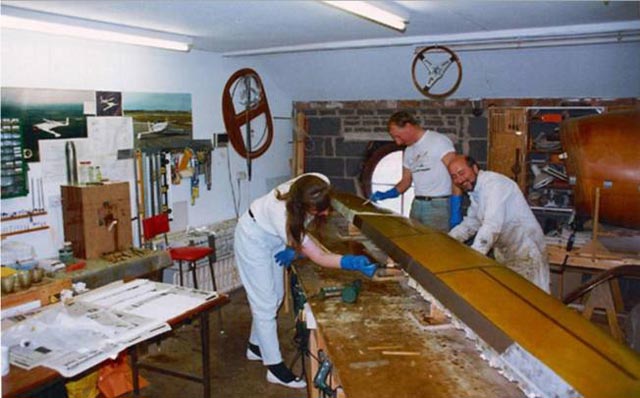
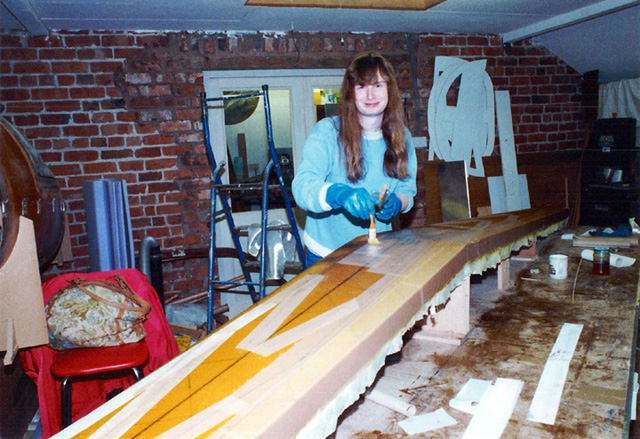
Skinning the Waddelow Canard with 45 deg uni cloth
Diagonally skinning the (Waddelow) canard.
This is the process I used for jigging and floxing in the canard hinges before the slot core is installed.
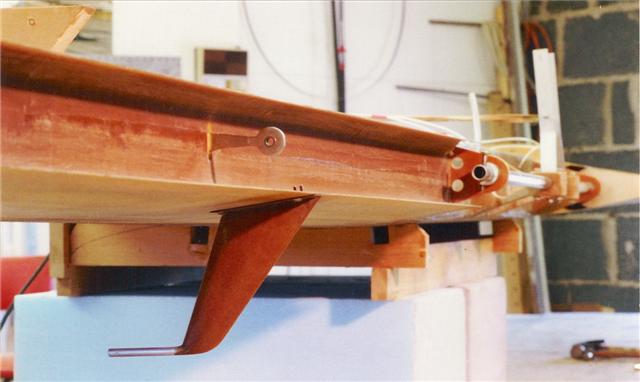
Canard (Waddelow) showing elevator slot and elevator.
Waddelow canard elevator slot core with my version of the pitot head (removable in case of damage)
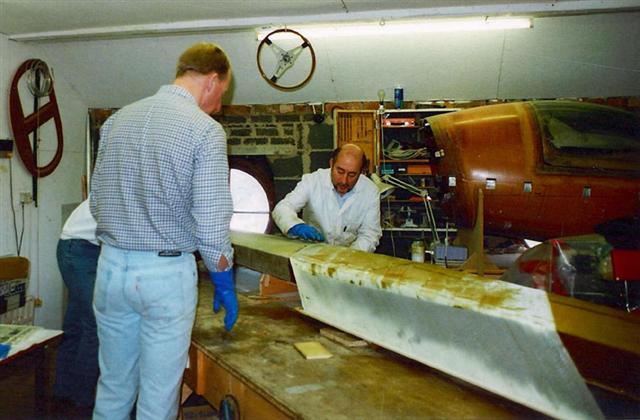
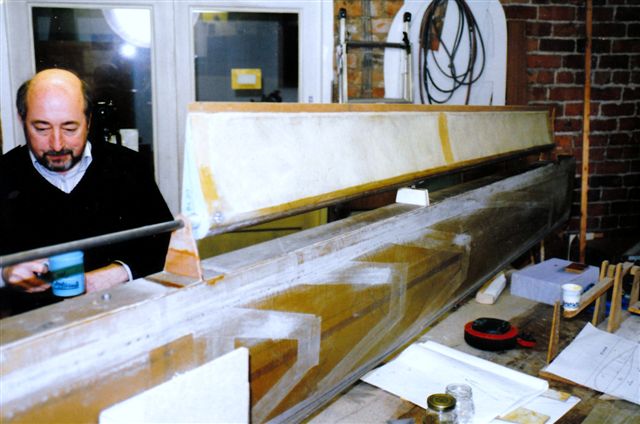
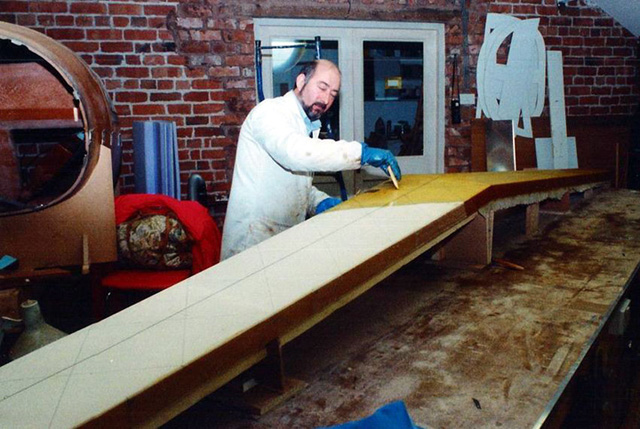
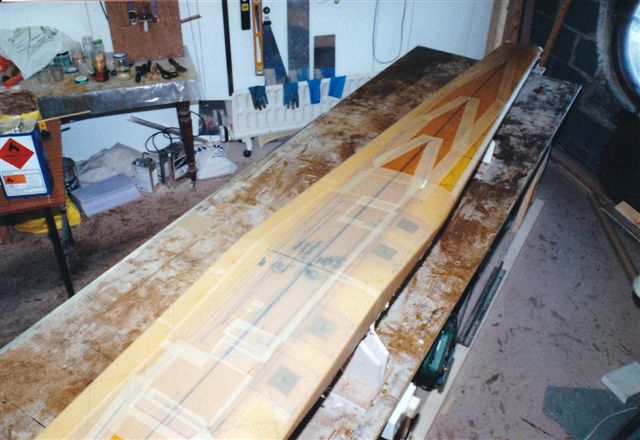
The Waddelow canard, ready for painting and filling.
The Waddelow Main Wing Construction
Skinning the undersurface of the main wing.
Main wing undersurface finished. Note 'Waddelow' tapered caps and use of lots of peel ply.
Another pic of the finished bottom surface of the main wing. Note seat belt attach points.
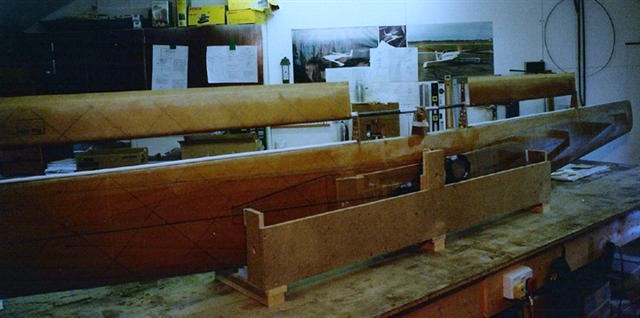
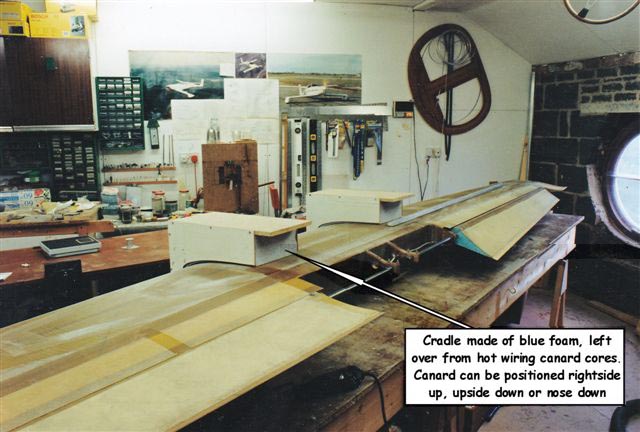
Main wing in vertical stand with the ailerons being jigged before the slot cores are installed.
Other Construction Deatails
Rear of seat back bulkhead showing main gear installation bolts. Note that the two halves of the bulkheads are not yet glassed together.
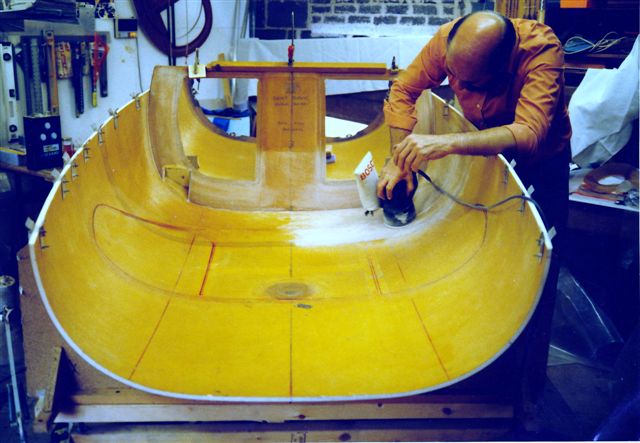
Preparing the bottom shell prior to installation of main tank. Note that the seat back bulkhead is already glassed in, and the main gear location points have been started. So much easier with the separated shells.

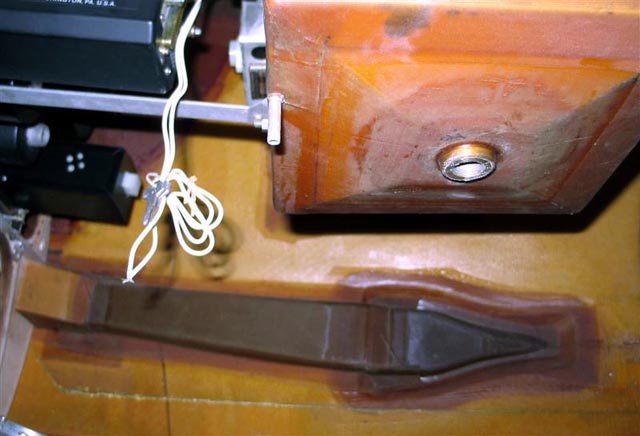
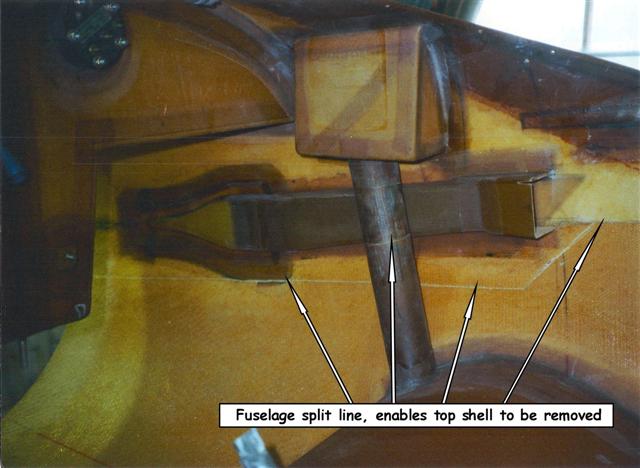
Detailed pictures showing the fuselage spilt line clips, and the split extended through the Main tank filler tube.
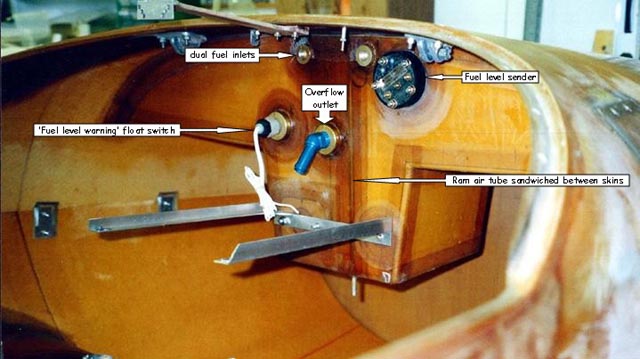
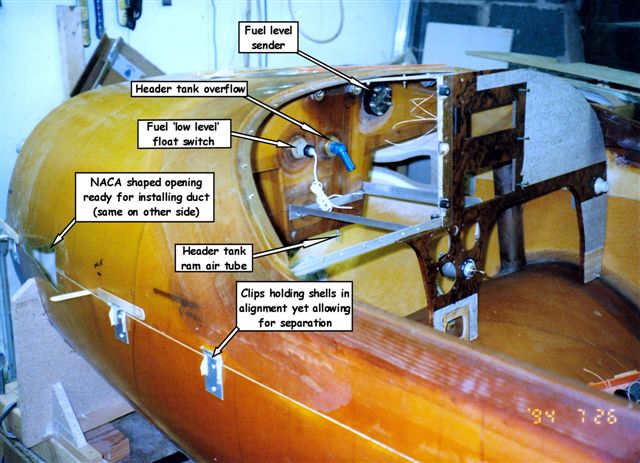
Header tank with the clips holding the top shell to the bottom clearly visible.
Modified fuel filler and canopy hinges.
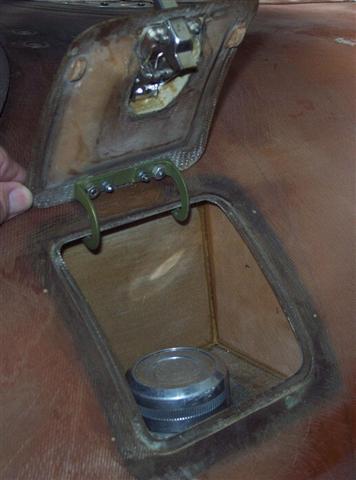
Fuel filler lid.
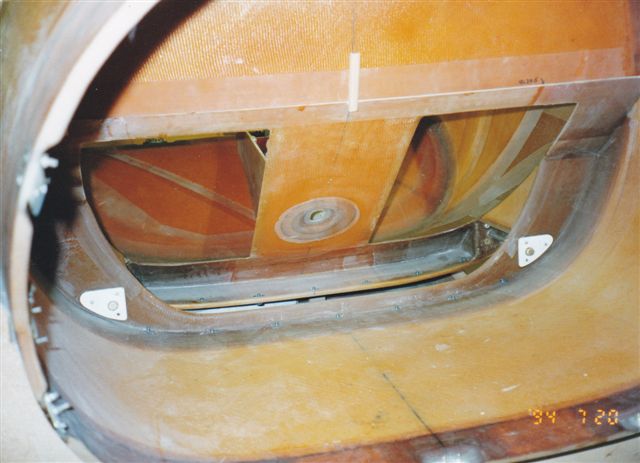
Bottom of header tank showing that the fuel outlet uses a welding flange. Note the ram air tube, inside of NACA duct and that the bottom of the tank is constructed so that the outlet is at the lowest point.
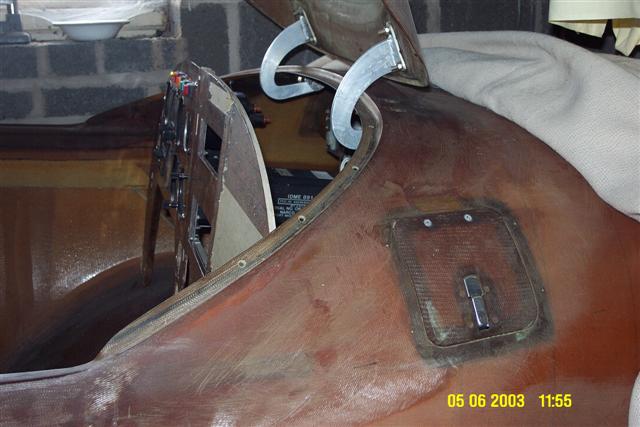
Inside the cockpit showing the standard fuel filler but with the facility to remove the top shell.
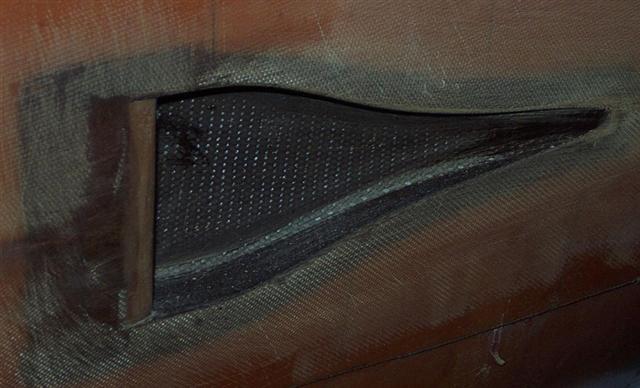
NACA duct and lip floxed in place. Made from wooden mould.
I hope others find these photos helpful.
Kind regards,
Paul Buckley
Cheshire, England
Embryo TriQ-200