by Sanjay Dhall
A few days before my planned first flight last year, I became quite nervous about my ground angle of attack. I was second guessing everything I had done. I did a second weight and balance, and just to be sure, I re-checked my ground angle of attack. It still measured nearly 10 degrees.
This was higher than the numbers I recalled hearing from others on their airplanes. I was afraid that the higher angle would make take offs and landings more difficult. I would have weak tailwheel steering until the plane had slowed enough to plant it firmly on the ground.
Implementing the tailwheel fixes of the 6-pack mods required more tear out than I wanted to tackle at the moment. So Sam suggested I cut the standard tailwheel and weld in spacers to lower it. Even though this was less streamlined, it would initially assure better control in take off and landing.
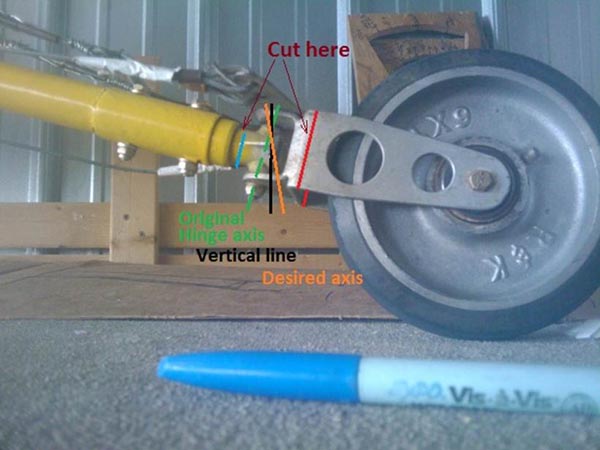
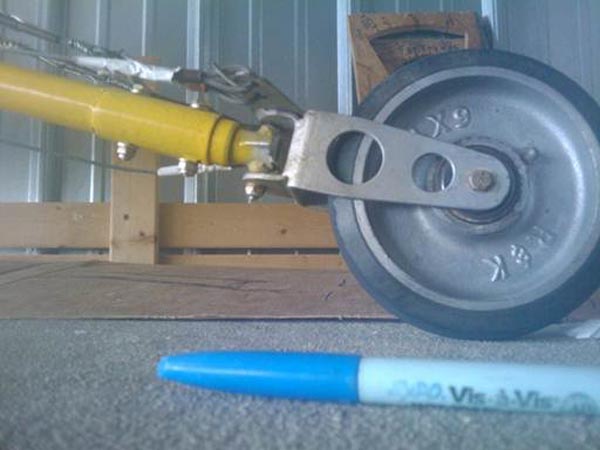
I drew the shape of the spacer that would be required to lower the tailwheel about 3.5 inches on a piece of cardboard. This would give me a ground angle of attack of about 8.5 degrees. I cut two of these spacers from 1/8” 4130 steel. Then cut the original tailwheel arms at locations shown on the picture. Then had the spacers welded into position.
The original wheel setup also had another flaw that caused me concern. The original swivel hinge line makes a negative angle to the vertical. This was somewhat unstable, causing the tailwheel to easily wander to extreme left or extreme right of its range, at least when stationary. Under any weight the tailwheel just did not want to track straight.
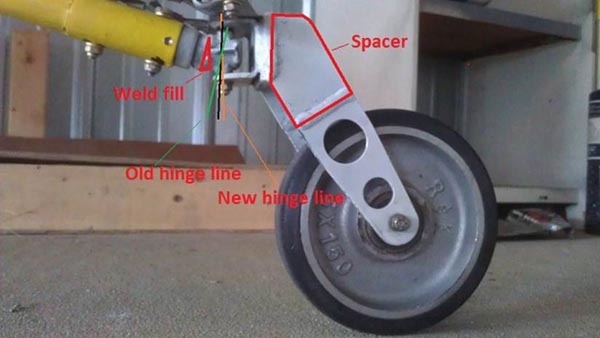
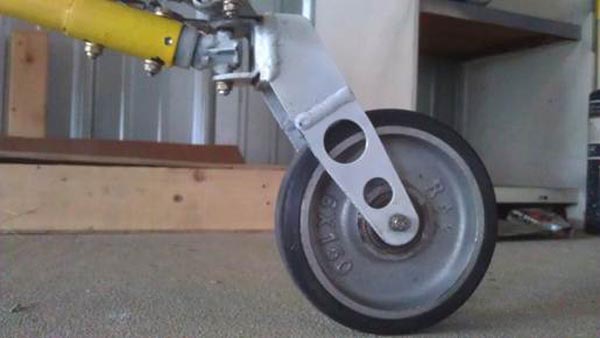
So to correct this, I wanted to modify the hinge angle, from a negative to a positive. See picture. To do this I cut the tube forward of the hinge line about 90% up from the bottom. Then pried the split lower portion open till I had about 15+ degree movement of the hingeline. Then I just welded the split and filled in the space that had been created, then mounted this back on the plane.
Making these changes took only a couple of hours, and did not affect the rudder cable setup, which is to plans. I would have liked to have had the recommended separate cables to rudder and tailwheel (with springs), but it seemed like too much work for the moment. Earlier I had reinforced the tailspring with ten extra layers of glass. (Another mod based on my second guessing activity.)
While this change does not offer the full benefits of the 6 pack tailwheel mod, it got me a long way there, eliminating at least one item from my long list of worries before that first flight.
 |
|
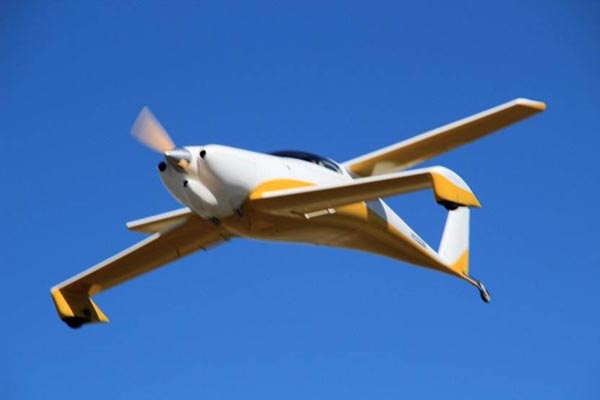
Tailwheel Before.
|
 |
|
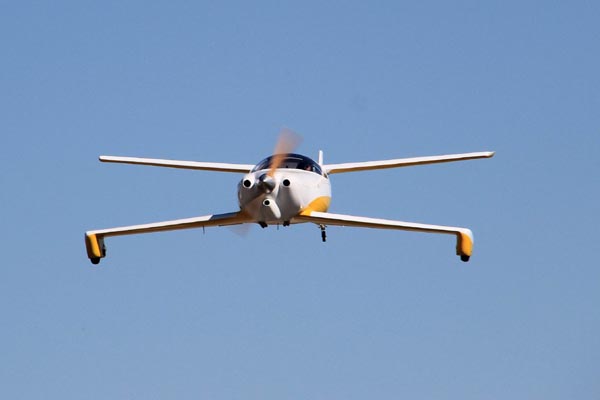
Tailwheel After.
|
[EDITOR'S NOTE: Sanjay also sent me the following pictures. He didn't say I wasn't supposed to share them! Thanks Sanjay, keep up the great work!]