Q-talk 147 - I wish I had Done This the First Time


- Details
- Category: Q-Talk Articles
- Published: Tuesday, 28 June 2011 16:57
- Written by Jerry Marstall
- Hits: 4539
Better Looking Cowling Fasteners
by Jerry Marstall
Around the edges of my cowling I used filler to make it flush with the fuselage. Over the years, some of the cowling screws had eaten into the filler and eroded the holes to where the heads of the screws were below the top of the cowling surface. Can’t have that!!
In order to make a “permanent” countersunk hole that wouldn’t wear in the future, I embedded Tinnerman countersunk washers as follows:
Step 1
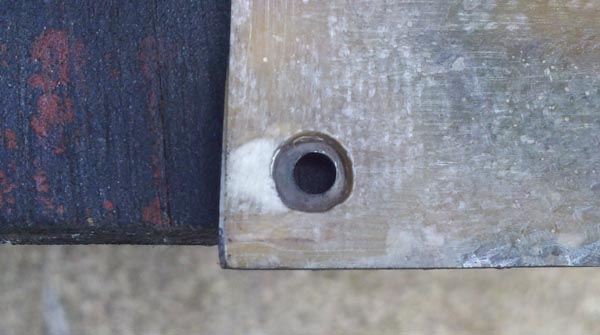
Enlarge the screw hole enough that the countersunk portion of the washer will let the rim set flush with the top surface of the cowling.
STEP 2
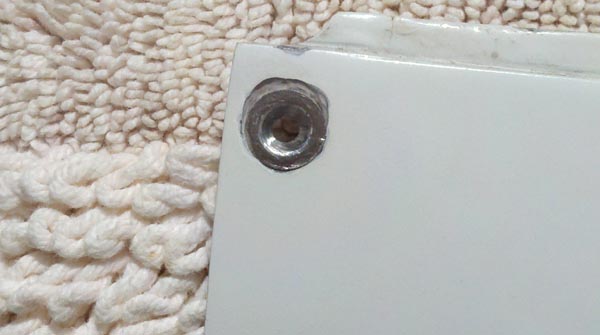
Dremel around the hole the diameter of the washer rim just deep enough so the top of the washer rim sets flush with the surrounding surface. Keep the Dremel work as precise as possible to eliminate the need for filler around the washer later.
Step 3
Sand around the hole enough to allow the application of one layer of fiberglass cloth in Step 6.
Step 4
You need to be at the airplane for this step. To insure that the washer is properly aligned with the receiving hole on the fuselage, put the cowling in place. Rough up the undersurface of the rim of the washer and apply crazy glue around the underside. Place the washer in the prepared hole. Put a screw in the cowling hole and tighten it down. Give it a minute or two to set and then you can remove the screw. This will hold the washer in place for the next step.
Step 5
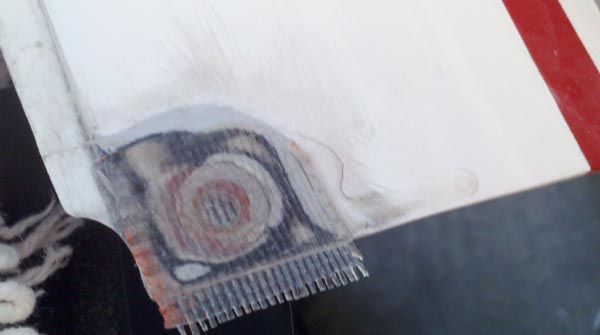
Wet out a piece of fiberglass cloth and place it over the washer and surrounding prepared area. If you use a hair dryer or heat gun, you can quickly follow with step 6.
Step 6
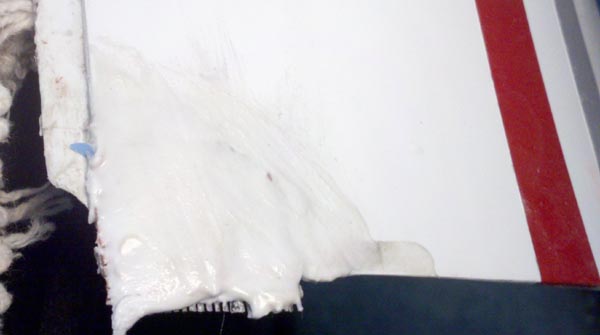
Apply micro.
Step 7
Sand micro, redrill out the hole and use a 100-degree countersink to hand hone out the micro and fiberglass from the countersunk hole.
Step 8
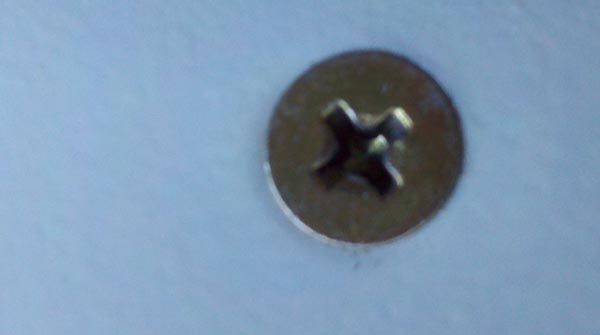
Prep and paint. I use PPG paint and found it easily blended in with the previous paint job. (and I am no painter). No need to repaint the entire cowling.