Q1 Plans Chapter 9 Page 9-9
- Details
- Category: Quickie Plans
- Published: Tuesday, 23 September 2008 01:00
- Written by Dan Yager
- Hits: 2564
Let the bottom skin cure for at least one day.
Build a framework out of lumber and Bondo, as shown, to hold the wing jigged in place while you turn it over.
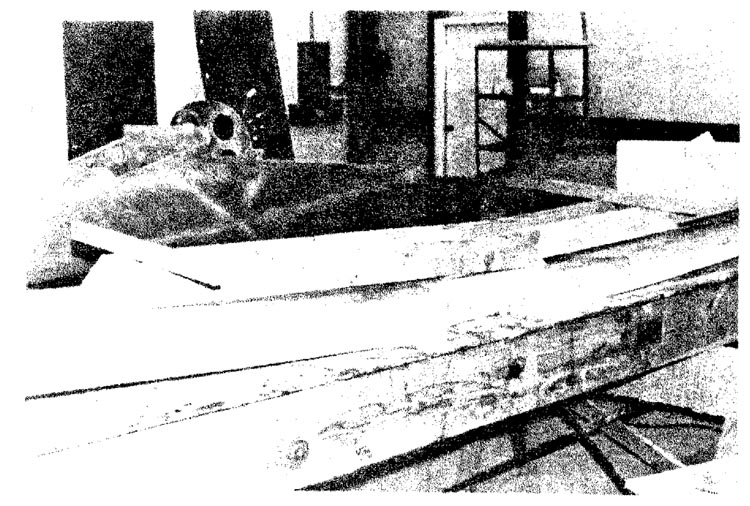
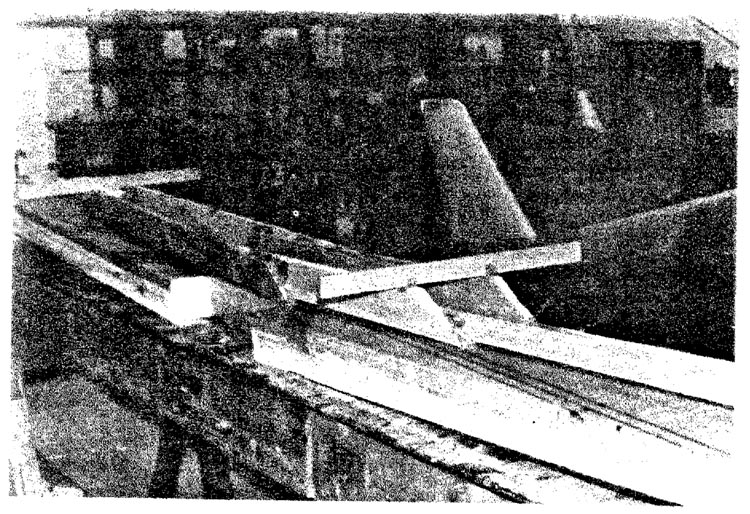
After the wing has been turned over, leave the lumber on and check the level lines on each tip. Shim as necessary to get the tip level lines absolutely level; then Bondo the jigging to the table in preparation for glassing the top skin.
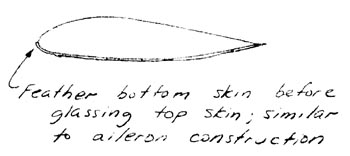
At the leading edge, feather the bottom skin to a feather edge at the tangent point just like you did with the ailerons.
Glassing the top skin and spar caps is just like what you accomplished on the bottom skin with these changes:
- The top of the wing has more spar caps.
- At the leading edge, the top skin must wrap around the leading edge and overlap the bottom skin by about l
Although this layup involves more cloth, you should still be able to finish it in about 2.5 hours with two or three people.
Permit the wing to set for two days before breaking loose the lumber. Before moving the wing, Bondo a board onto the wing surface in the level position (i.e. so that a level set on top of the board will be level with the tip level lines). This will allow you to easily tell when the wing is level as you mount the wing to the fuselage later.
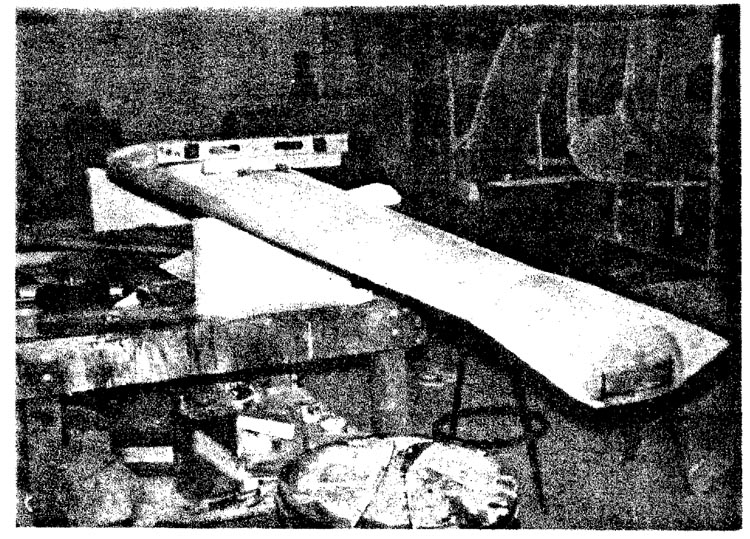
By the way, to avoid letters and phone calls to us, it should be noted that the photos accompanying these words show the level board and lumber framework on the canard. The principle is identical, however.
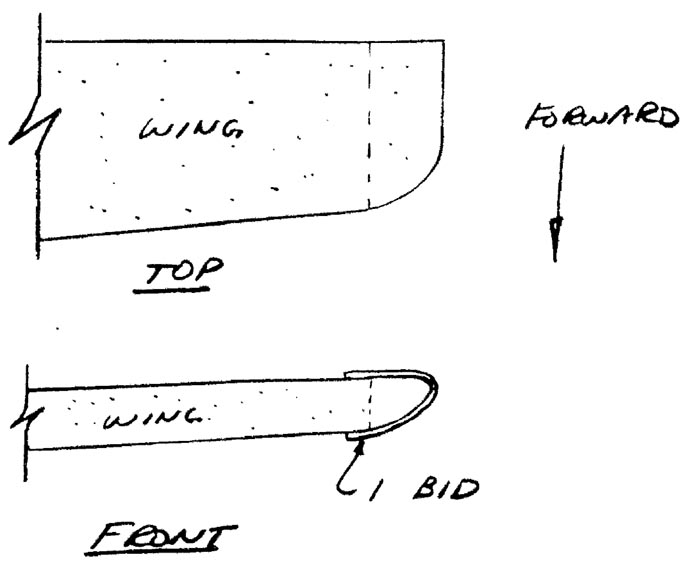
After the level board has been bonded to the canard, you may carve the wing tip to a pleasing shape and glass over it with one BID, overlap ping onto the wing skin at least l!
