- Details
-
Category: Quickie Plans
-
Published: Wednesday, 15 October 2008 01:00
-
Written by Dan Yager
-
Hits: 3354
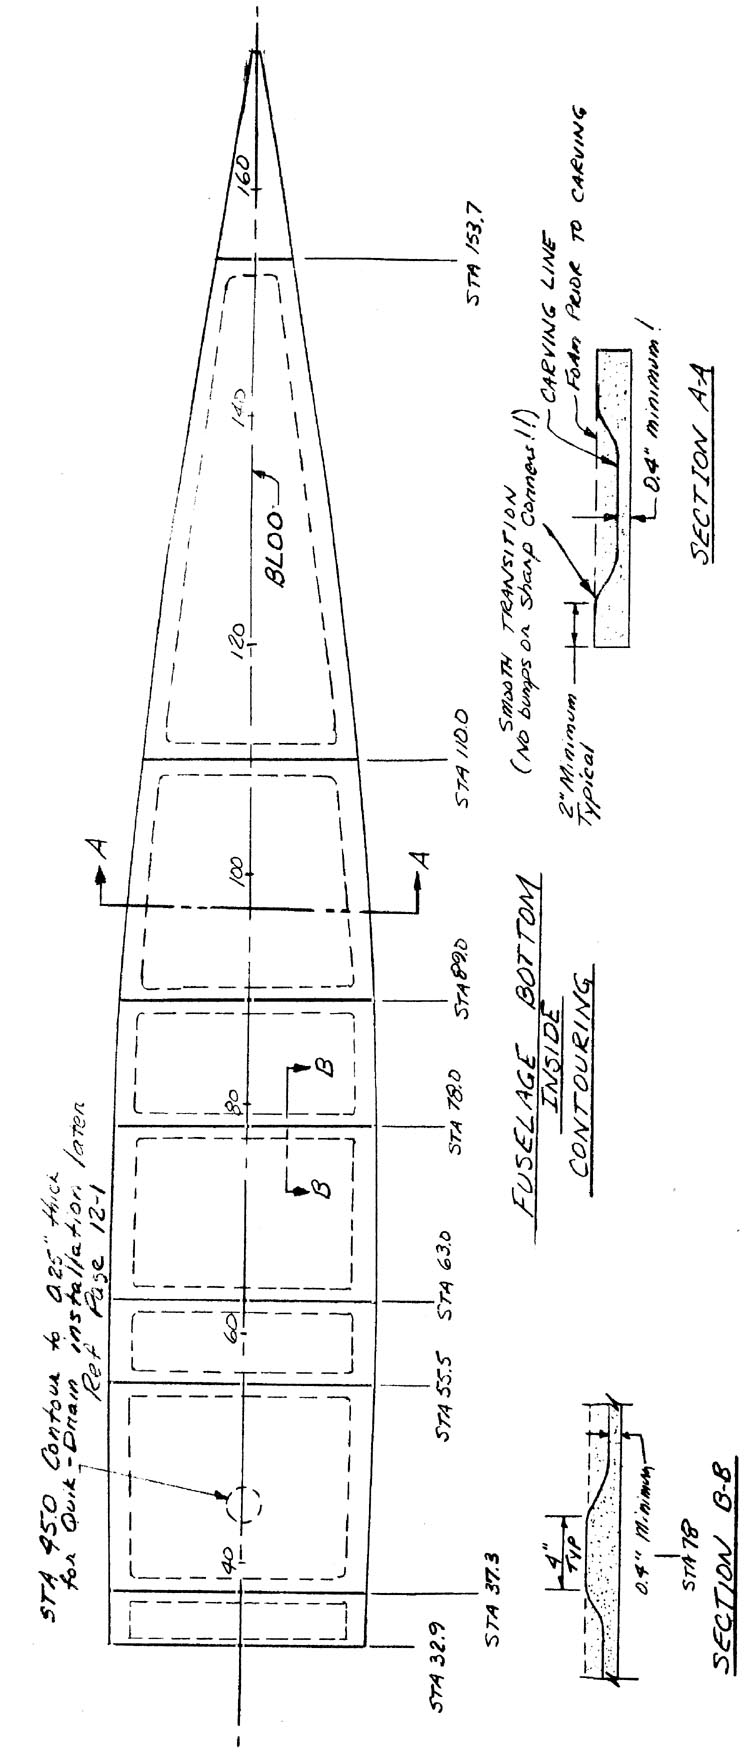
Glass1ng — in order to better simulate the final curvature of the bottom (see a side view of the aircraft), the foam should be elevated off the table at the following STA:
STA | HT. OFF TABLE |
40 | 0" |
90 | 4.5" |
125 | 5.5" |
172 | 0" |
 |  |
Blocks of wood can be used and the tolerance on the height can be 1/2 inch.
One ply of BID at 45 deg to BL00 is used to cover the bottom on the contoured side. You may wish to peel ply the locations of the bulkheads to save future sanding as well as all edges.
Once this layup is cured, the bottom should be handled with considerable care to avoid overstressing the foam.. Until the outside ply is glassed, the structure remains flexible and prone to damage.
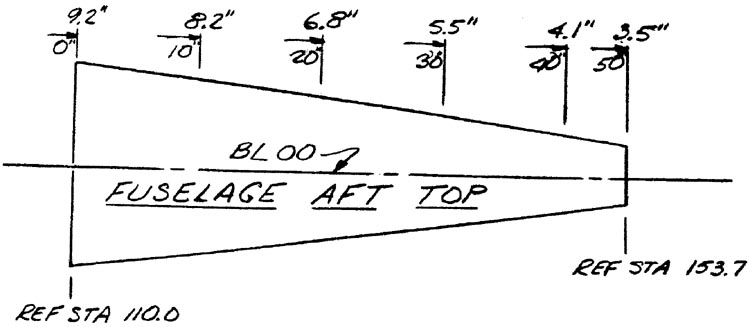
The FUSELAGE AFT TOP should be glassed on a flat surface with one ply of BID at 45 deg to BL00 on the bottom side(i.e. the side that will be inside the fuselage after assembly). Peel ply the edges.
READ THE EDUCATION SECTION BEFORE GLASSING!
FUSELAGE SIDES
Initial Layout - Laying out a fuselage side is very similar to laying out the fuselage bottom. WL15.0 replaces BL00 as the primary layout line.
You will have to make the canard BL1O template and the Wing BLOO template in order to complete the layout.
After cutting out one fuselage side, use it to trace around and cut out the other fuselage side. It is important for jigging the fuselage later that the sides be equal.
Contouring - The fuselage sides are also contoured to reduce weight and increase interior room.
The procedure is the same as what you did on the fuselage bottom with these exceptions:
- Contouring to within 1” of the edge is acceptable.
- You should trial fit both the Fuel Tank and Seatback Bulkhead and mark where they meet the fuselage side.
- In order to accomodate the tailspring support, taper the fuselage thickness aft of STA 166.0 from 1” at STA166 to about 0.1” at STA172.
Important points to remember:
- Carefully mark all bulkhead locations with a felt tipped marker on each fuselage side. Make sure that the equivalent markings are in the same location on each fuselage side.
- Contouring is done on the inside of the fuselage. Make sure that you make one right fuselage side and one left fuselage side
Glassing - Prepare the 0.75” x 0.75” x 72” longerons (2) by rounding the corners with sandpaper. About a 3/32” radius is sufficient. Next, using dry micro, mount the longerons to the fuselage sides by placing one end at STA79 and letting the other end protrude forward of the fuselage side. The top of the lorigeron should coincide with the top edge of the fuselage side. Finally, lay a dry micro radius at the fuselage/longeron junction to facillitate glassing the fuselage side. The accompanying sketch depicts the technique.
All glassing of the fuselage sides is accomplished using BID at 45 deg to WL15. Accomplish it in the following sequence:
- Glass one ply of BID along the entire fuselage side.
- Glass an additional ply from STA14.8 to STA90.
- Glass another additional ply from STAl4.8 to STA4O,
When you have finished, the fuselage side will have 3 plies of BID on the forward part, 2 plies of BID on the intermediate section, and 1 ply of BID on the aft fuselage, all of these at 45 deg. to WL15.
The other fuselage side can he glassed in the same manner.
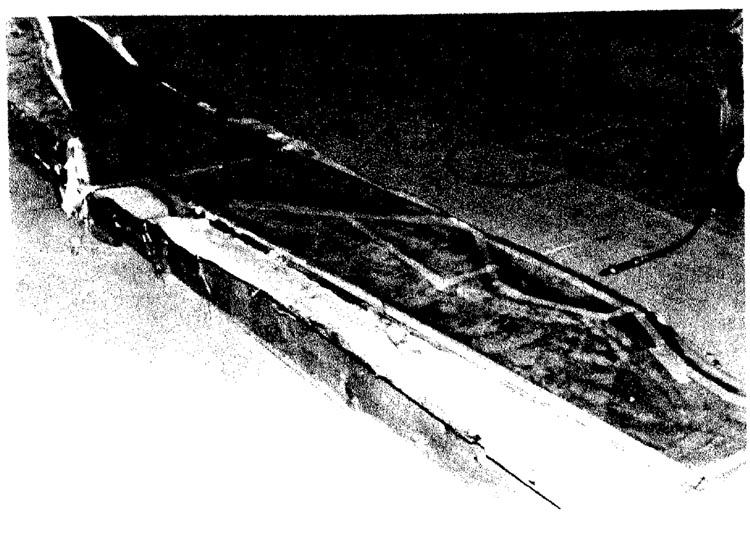
This is the left side of the fuselage after it has been contoured and glassed on the inside. The two fuselage sides and the bottom are all cut from 1” thick green foam and glassed on the inside to provide rigidity during the final assembly of the fuselage.
CONTINUED ON NEXT PAGE


