Q2 Plans Chapter 13 Page 13-02


- Details
- Category: Q-2/Q-200 Plans
- Published: Thursday, 18 May 2006 09:05
- Written by Quickie Aircraft Corporation
- Hits: 3088
|
CANOPY HINGE INSTALLATION
..... The canopy is hinged on the right side of the aircraft with one 12" length of MS20257P4 hinge. (Or alternative MS20001P4 hinge). .....The accompanying drawings give the details of the attachment. Note that recessing of the hinge into the longeron is necessary to provide clearance. .....Because the longeron line is curved, it is important to remember that the hinge must be oriented to provide the best compromise for opening and closing of the canopy. Some trimming of both the fuselage outboard skin and canopy frame outboard skin may be necessary to provide clearance for opening of the canopy. .....The hinge is nominally located half way along the stiffener. If you have used foam to make the stiffener core, you will need to make and install some plywood inserts wherever the bolts are installed. .....The alternative MS20001P4 hinqe will provide a tighter fit if required. 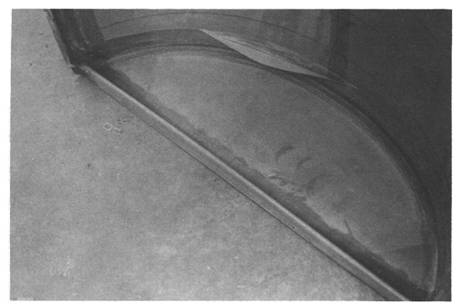 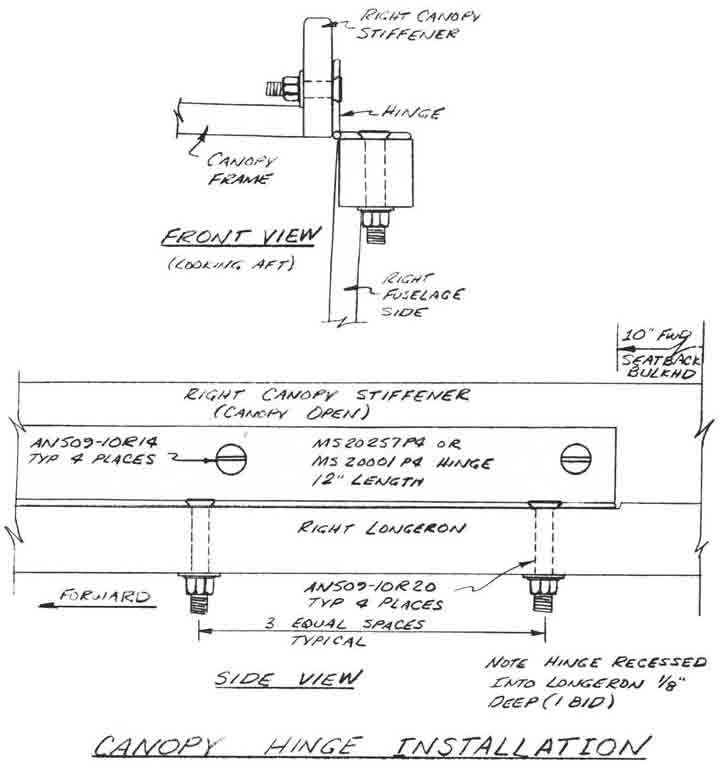 FORWARD CANOPY LIP
..... In order to provide a secure seal at the forward edge of the canopy frame, a fiberglass lip is fabricated from 4 BID and bonded to the inside of the upper forward fuselage shell as shown. .....Since the forward edge of the canopy frame is curved, when viewed from above, the lip will also be curved. .....To construct the lip, place some gray tape around the canopy frame cutout on the upper forward fuselage to protect the structure. Next, laminate 4 BID around the cutout with a minimum width of 2". Multiple pieces may be used to make the required curvature. .....When the piece is cured, remove it and the grey tape, and bond it to the inside fuselage skin, At least 0.6" must project aft from the cutout to provide the lip. A 1 BID closeout ply is laminated to cover the exposed foam edge of the shell lapping onto the lip, and knife trimmed even with the outside skin of the shell. 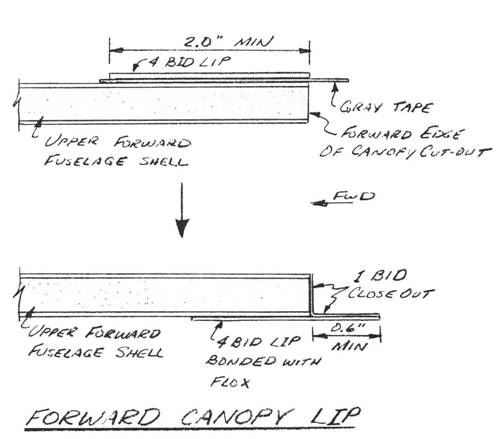 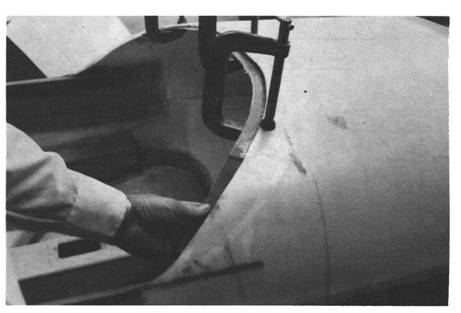 |
||||
|
||||
PAGE
13-2 |
||||